Polka Dot Pumpkin Project
October 23, 2009

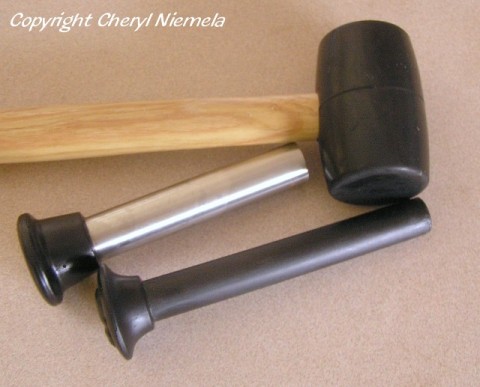
Here is a fun and easy pumpkin project to do. You need a few different color pumpkins, squash, or gourds, and a rubber mallet and an apple corer with plunger.

1. Tap apple corer with rubber mallet until through the rind, remove the apple corer. Then use the plunger and rubber mallet to remove the core from the apple corer; save the core/dots. Remove as many or as few circles as you wish.

2. Trim the rough pulpy ends of dots with a knife, then place a dot of hot glue inside an empty hole to help keep dots in place; then fill the hole with a different colored dot. Repeat until all holes are filled – then enjoy your polka dot pumpkin!

A fun project for kids and adults! Besides orange pumpkins, I grew a gray pumpkin, Jarrahdale, and a white pumpkin, Valenciano, to use for this project.


October 30, 2009 at 6:26 pm
Huh, that is really cool looking…I was wondering how you did it and was very intrigued with process…great idea-you must be a designer-Target better watch out!
GartenGrl at Planning Plants to Plant
October 26, 2009 at 4:53 am
So cute! Although, I’d prolly get lazy and buy tacks to put in instead. Or maybe even paint circles. Something like that.
October 26, 2009 at 1:07 pm
I did see a pumpkin project made with decorative brads, so you are right on with the lazy tack idea! 🙂
October 25, 2009 at 2:33 pm
This is the best Halloween thing I have ever seen!!
October 26, 2009 at 2:10 am
Thanks, Laura! They sure were fun!
Cheryl